The best time to make your bathroom safe for recovery is before your surgery, not after you're home on restrictions and unable to bend, kneel, or install anything. Occupational therapists consistently tell patients the same thing: set the bathroom up in the week or two before the operation, so that on day one you walk into a space that already works. This guide is that pre-surgery checklist.
Recovering from a specific procedure? Pair this with our hip replacement recovery timeline or knee replacement recovery guide.
Why prep before surgery matters
After a hip or knee replacement you'll come home with movement restrictions, reduced strength, and a real fall risk in exactly the room where falls are most dangerous. You won't be in a position to shop, assemble equipment, or drill anything for weeks. Getting the bathroom ready in advance removes that scramble and, more importantly, prevents the early re-injury that can set recovery back.
The one rule that shapes a hip-replacement bathroom: the 90-degree precaution
After many hip replacements, surgeons restrict bending the hip past 90 degrees for several weeks (often 6–12). A standard toilet sits only about 15 inches off the floor, which forces the hip well past that limit every time you sit. This single precaution is why a raised toilet seat is the centerpiece of hip-recovery bathroom prep — it reduces how far you have to lower yourself, keeping you within safe range. Choose height and arms using our raised toilet seat buying guide.
The pre-surgery bathroom checklist
Install or buy these before your surgery date:
- Raised toilet seat (with arms if you'll need help pushing up) — essential for hip precautions and helpful for knee recovery.
- Grab bars at the toilet and tub/shower, anchored into studs. See our grab bar buying guide and installation guide.
- A shower chair or tub transfer bench so you can bathe seated without standing on one leg or stepping over a high tub wall. Our shower chair and transfer bench guide explains which fits your bathroom.
- Handheld showerhead so you can wash seated without turning or reaching.
- Non-slip mats inside and outside the tub; remove loose throw rugs entirely (they're a trip hazard with a walker).
- Long-handled aids — a reacher, long-handled sponge, and sock aid — so you can wash and dress without bending past precautions.
- Night lights along the route from bed to bathroom for nighttime trips.
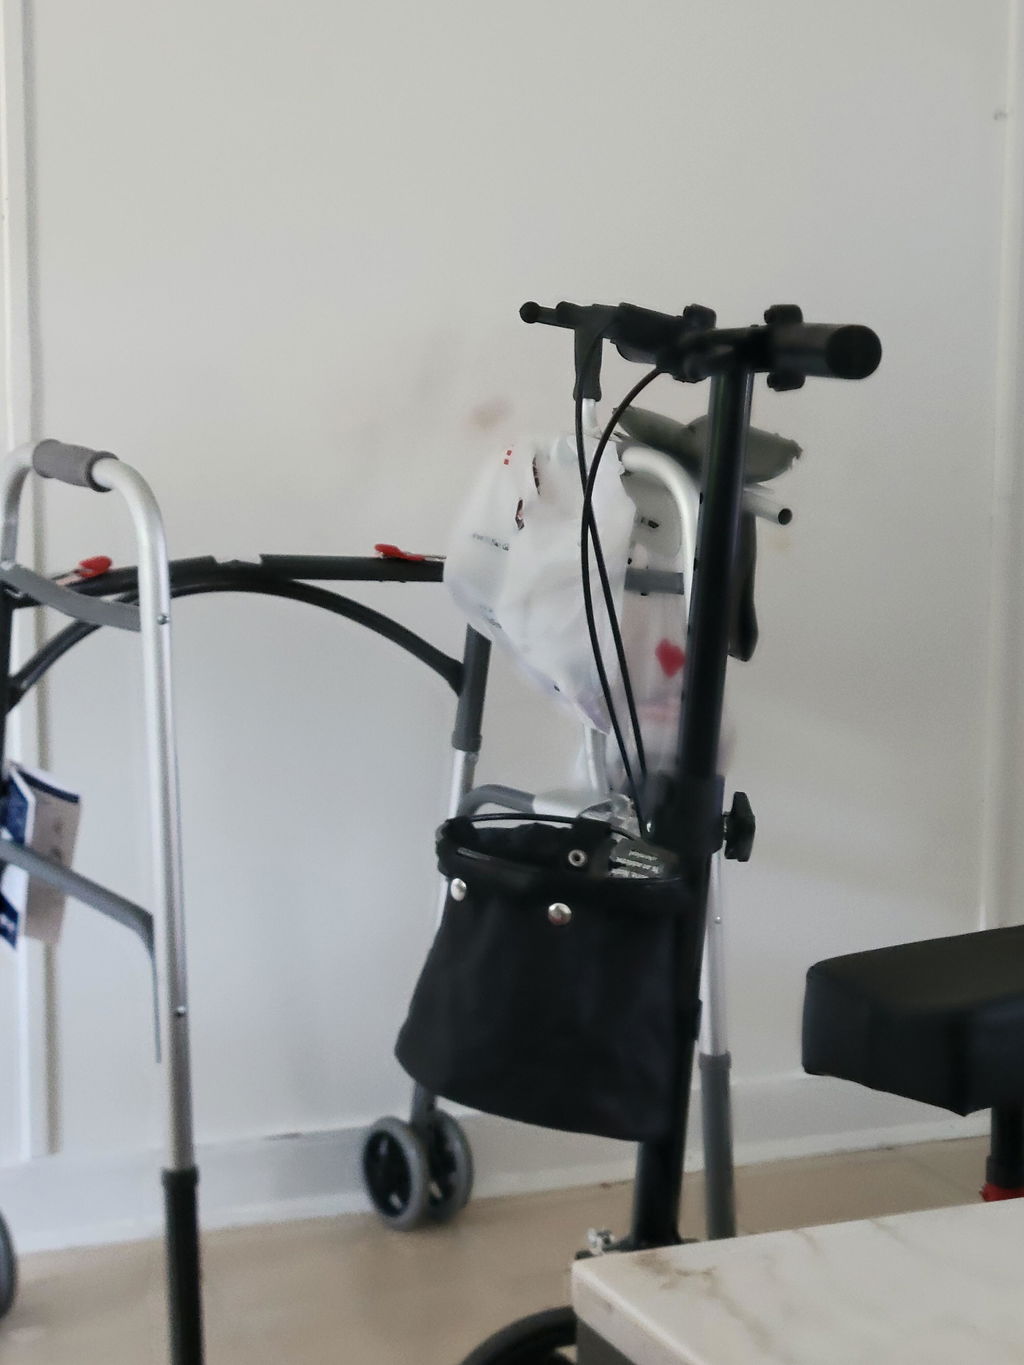
- Clear the floor and make sure a walker or crutches can fit through the doorway and turn inside the room.
Setting up for a walker
You'll likely use a walker or crutches at first. Check that the bathroom doorway is wide enough, that there's room to turn the walker inside, and that everything you need (towels, soap, toilet paper) is within arm's reach from a seated or standing-with-walker position — not down low or up high.
A week-by-week look at what your bathroom needs to do
Weeks 0–2 (early recovery)
Highest fall risk and tightest restrictions. You'll rely most on the raised toilet seat, grab bars, and a seated bathing setup. Someone may need to be nearby for the first showers.
Weeks 2–6
Strength and confidence build, but precautions usually still apply. Keep all equipment in place; this is not the time to "test" going without it.
Weeks 6–12
Many people are cleared to relax hip precautions around this window, but only your surgeon decides when. Remove equipment gradually as your clinician approves — and consider keeping grab bars permanently, since they benefit everyone.
Have this ready before discharge
Hospitals often send you home the same or next day. Before you leave, the bathroom should already have the raised seat and grab bars installed and the bathing setup assembled. Confirm with your care team which precautions apply to your surgery, and ask whether an occupational therapist can review your home setup — many do this as part of discharge planning.
Frequently asked questions
How high should the raised toilet seat be after hip replacement?
High enough that sitting keeps your hip above the 90-degree limit — typically a 3–5 inch riser, adjusted to your height. Taller users may need more. Your OT can confirm.
Do I need grab bars if I have a raised seat?
Yes — they do different jobs. The raised seat shortens the sit-to-stand; grab bars give you something secure to hold during the transfer and in the shower.
Should I set up before or after surgery?
Before, always. You won't be able to shop or install once you're home on restrictions, and the first days carry the highest fall risk.
How long will I need this equipment?
Often 6–12 weeks for hip precautions, sometimes longer, per your surgeon. Grab bars are worth keeping permanently.
Will insurance pay for any of it?
Often not for basic bathroom-safety items, though FSA/HSA usually can. See our guide on raised toilet seat coverage and medical necessity.
Related reading
- Raised Toilet Seats: The Complete Buying Guide — choosing height, arms, and fit
- Hip Replacement Recovery Timeline & Knee Replacement Recovery Guide
- Shower Chairs, Bath Benches & Transfer Benches — seated bathing for recovery
Get recovery-ready with AllCare Store
Find everything on this checklist — raised toilet seats, grab bars, shower chairs, and transfer benches — in our bedroom & bathroom safety, toilet seats, and convalescent care collections, with free U.S. shipping and 30-day returns. Planning a procedure and not sure what to get? Call our team at 1-888-889-6260.
This article is for general informational purposes and is not a substitute for medical advice. Follow the specific precautions and timeline your surgeon and therapy team give you; ask them to confirm your home setup before discharge.