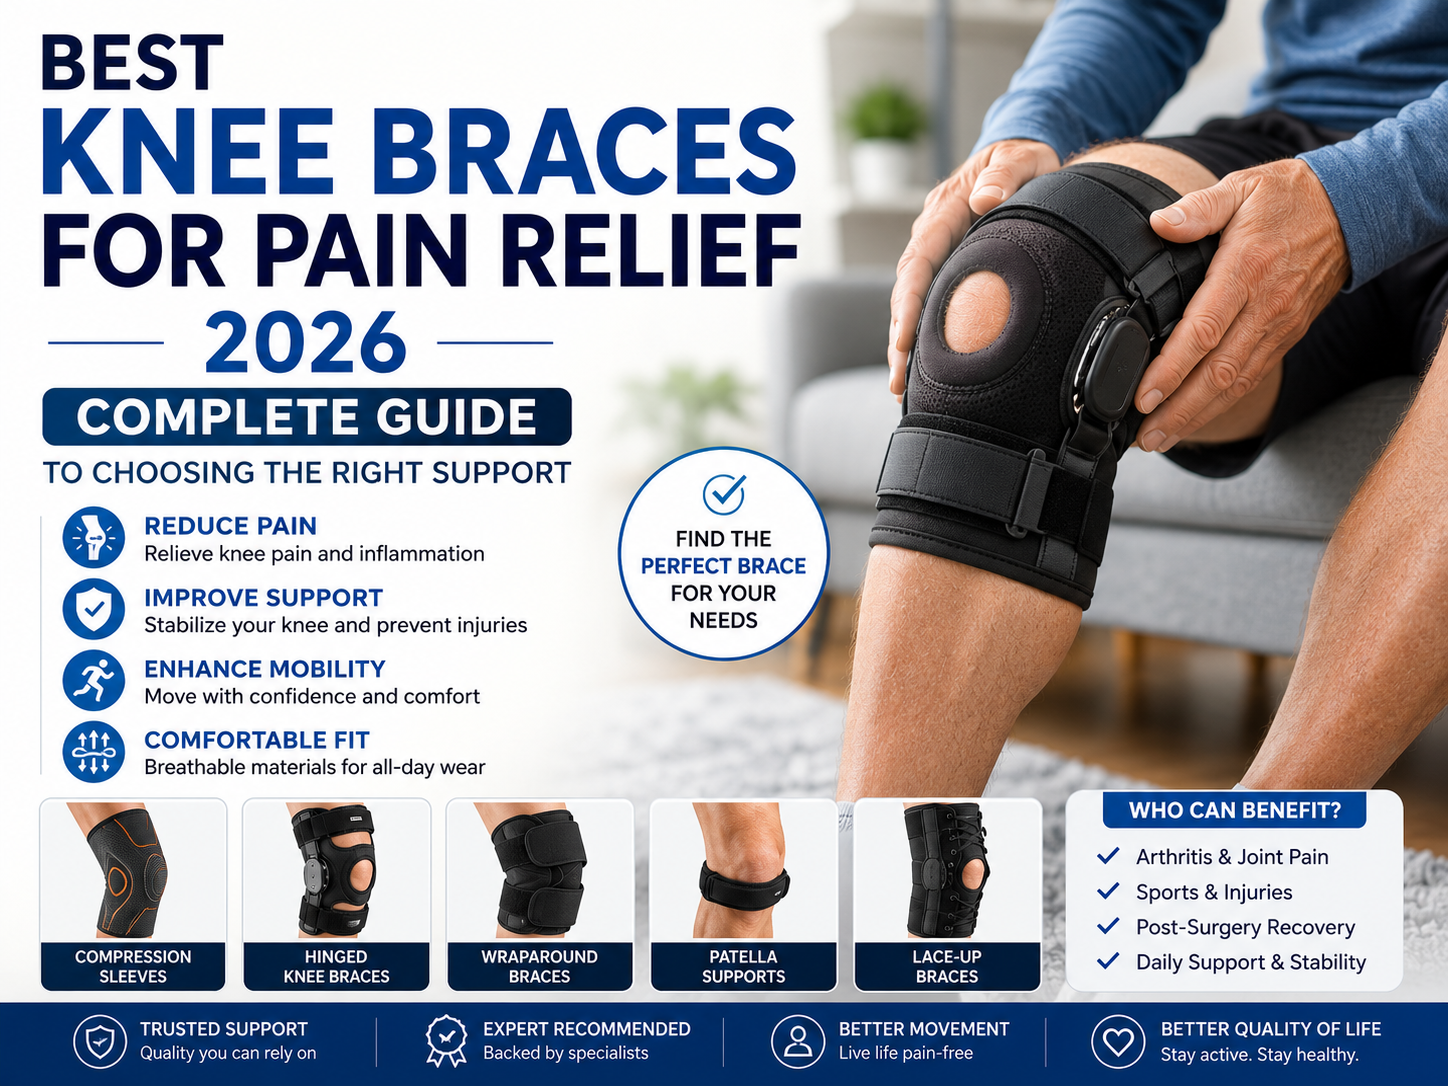
The best knee brace in the world will not help if it is the wrong size or worn incorrectly. A brace that is too loose slips and does nothing; one that is too tight pinches, restricts circulation, and gets abandoned in a drawer. This is a product-agnostic, step-by-step guide to measuring, sizing, positioning, and caring for a knee brace - the practical skills that make any brace work as intended, whether you bought it for arthritis, an injury, or everyday support. Once you know which type of brace you need, this is how you make it fit. You can browse styles in our braces, splints, and supports collection.
What you will need
- A flexible cloth tape measure (the kind used for sewing). If you only have a rigid tape, use a piece of string and then measure the string against a ruler.
- A helper, if possible - it is easier and more accurate than measuring yourself.
- The size chart for the specific brace you are considering. Every brand differs, so never assume your size carries over.
Step 1: Take the right measurements
Different braces are sized off different measurements. Read the chart first, then measure exactly what it asks for. The most common measurements are:
- Knee-center circumference: measure around the middle of the kneecap with the leg relaxed and slightly bent.
- Thigh circumference: many braces measure roughly 6 inches (about 15 cm) above the mid-kneecap. Check the exact distance your chart specifies.
- Calf circumference: similarly measured a set distance below the kneecap, often about 6 inches.
Tips for accurate numbers:
- Measure directly against skin or a thin layer, not over jeans or thick clothing.
- Keep the tape snug but not compressing the skin - it should lie flat all the way around.
- Measure at the same time of day you will wear the brace; legs can swell over the course of a day.
- Take each measurement twice and use the average.
Step 2: Read the size chart correctly
With your measurements in hand, find your size on the manufacturer's chart. A few rules prevent common mistakes:
- Follow the chart's key measurement. Some sleeves size on knee circumference; many hinged braces size on thigh circumference. Use whichever the chart designates as primary.
- If you fall between sizes, consider how you will use the brace. For all-day comfort many people size up; for firm support during activity a snugger size may be better. When unsure, follow the manufacturer's specific between-size guidance.
- Open- versus closed-patella and left/right or universal designs do not change your measurement, but do affect the model you order - note them.
For choosing the right type of brace in the first place, see our buyer's guide.
Step 3: Put the brace on and position it
Positioning is where many people go wrong. General steps, adapted to your specific brace's instructions:
- Sit down with the knee slightly bent (around 15-30 degrees) rather than locked straight - this positions the joint naturally.
- For a pull-on sleeve, roll or pull it up so the kneecap opening (if present) centers over your kneecap.
- For a wraparound or hinged brace, center the brace so the hinges sit level with the middle of the kneecap, one on each side of the joint. Correct hinge alignment is critical for hinged braces to protect the joint.
- Fasten straps from the center outward, or in the order the instructions specify, keeping tension even.
- Stand up and take a few steps; re-check that the brace has not shifted and the kneecap is still aligned.
Step 4: Check the tension
A properly tensioned brace is snug enough to stay put but never painful. Quick checks:
- You should be able to slip a finger under the straps with mild resistance.
- Bend and straighten the knee a few times - the brace should move with you without sliding down.
- Watch for numbness, tingling, color changes in the lower leg, or a throbbing sensation. Any of these means it is too tight - loosen it immediately.
Common fit mistakes to avoid
- Sizing off the wrong body part. Guessing from shoe or clothing size instead of the required limb measurement.
- Wearing it too low. A brace that sits below the kneecap loses support and slides.
- Over-tightening to stop slipping. Slipping usually signals the wrong size, not insufficient tightness. Cranking the straps cuts off circulation instead of fixing the fit.
- Ignoring hinge alignment. Misaligned hinges on a functional or unloader brace defeat its purpose - see our osteoarthritis unloader guide for why placement matters.
- Keeping a brace that leaves deep marks or numbness. That is a fit problem, not a break-in phase.
Skin care under a brace
Wearing a brace for hours creates warmth, moisture, and friction against the skin. Protect it:
- Start with clean, dry skin. Let lotion fully absorb before putting the brace on, or skip it in the covered area.
- Consider a thin moisture-wicking sleeve or liner underneath, especially for rigid braces.
- Take the brace off periodically to let the skin breathe, and inspect for redness, rubbing, or blisters.
- If you have diabetes, fragile skin, or reduced sensation, check your skin especially carefully and ask your clinician about safe wearing time.
Cleaning and maintenance
Regular cleaning keeps a brace comfortable, odor-free, and hygienic. Always follow the label, but general guidance:
- Hand wash sleeves and soft braces in cool water with mild soap; avoid harsh detergents and bleach, which break down elastic and neoprene.
- Air dry flat, away from direct heat. Machine drying degrades elastic fibers and adhesives.
- For hinged braces, wipe down the frame and hinges, and remove and wash the soft pads separately as directed.
- Refasten hook-and-loop straps to themselves before washing so they do not snag and collect lint (lint-clogged straps stop gripping).
Our physical therapy and recovery and orthopedic care collections include supplies that complement daily brace use.
When is a brace worn out?
Braces do not last forever. Replace yours when you notice:
- The material has stretched out and no longer stays in place even at the correct size.
- Straps or hook-and-loop closures no longer grip firmly.
- Padding is compressed, torn, or permanently stained.
- Hinges are loose, bent, noisy, or no longer track smoothly.
- It has stopped providing the support or relief it once did.
If your body has changed - weight, swelling patterns, or a new diagnosis - re-measure and reassess rather than forcing an old brace to fit.
Related guides
- Best Knee Braces 2026: Arthritis, Ligament Injuries, and Choosing the Right Level of Support
- Knee Braces for Ligament and Sports Injuries: ACL, MCL & Meniscus Support
- Knee Braces for Osteoarthritis: Unloader & Offloader Braces
- Knee Braces for Everyday Support and Seniors
This article is for general information and is not medical advice. If you are unsure which size or type of brace suits your condition, or how long to wear one, consult your doctor, physical therapist, or a certified fitter.