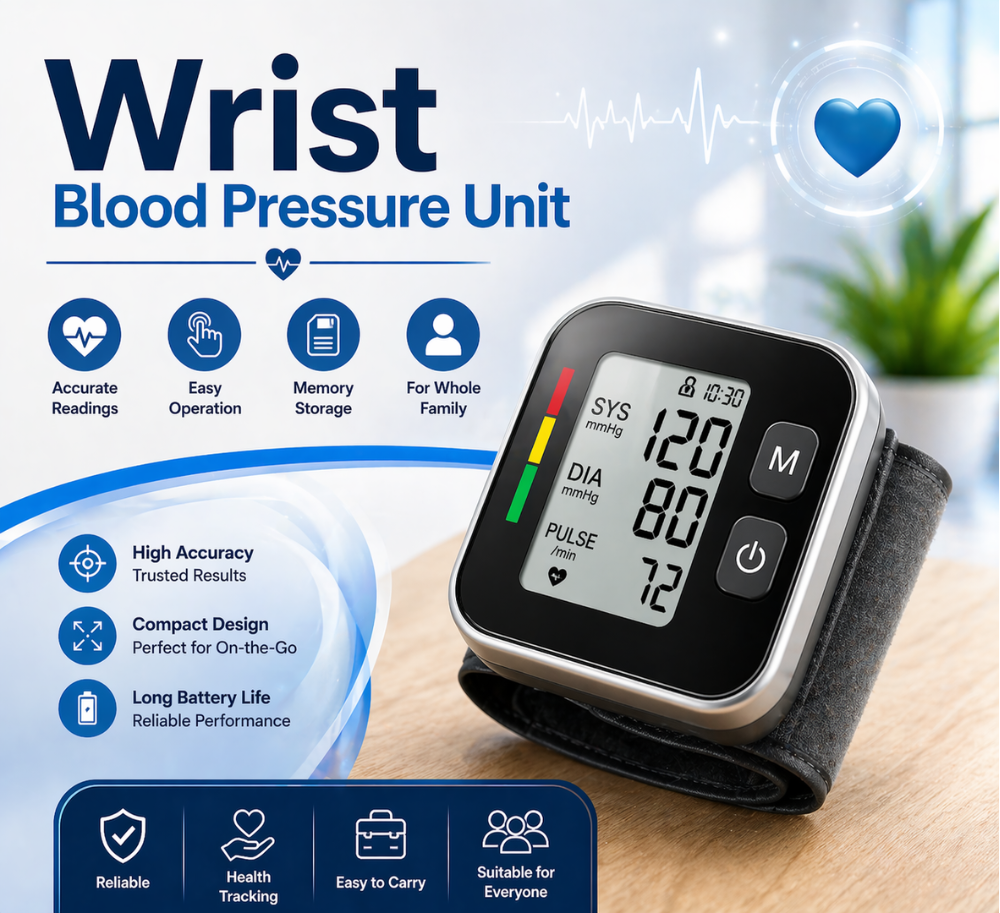
If you have been told to check your blood pressure at home, one of the first decisions you face is where the cuff goes: around your upper arm, or around your wrist. Both types of monitor use the same basic method, both give you a systolic and a diastolic number, and both sit on the same shelf at roughly similar prices. But they are not interchangeable, and the right choice depends less on price than on your body, your hands, and what your clinician needs from your readings.
This guide walks through how the two designs actually differ, why upper-arm cuffs are usually treated as the reference, and the specific situations where a wrist cuff is genuinely the better answer rather than a compromise.
Why the location of the cuff changes the number
Both styles of monitor work the same way underneath. The cuff inflates until it briefly squeezes the artery closed, then lets the pressure out slowly while a sensor listens to the small pulsations in the cuff. Software reads the pattern of those pulsations and converts it into your two numbers.
The difference is what the cuff is squeezing. An upper-arm cuff sits over the brachial artery, a single large vessel that runs close to the surface and is easy to compress evenly. A wrist cuff sits over two smaller arteries that lie deeper, sit closer to bone and tendon, and are surrounded by much less soft tissue. That makes the signal at the wrist smaller and easier to distort.
Position matters more at the wrist, too. Blood pressure changes with height relative to the heart, and your wrist is far easier to hold too high or too low than your upper arm is. An upper arm resting on a table is more or less at heart level by default. A wrist has to be deliberately placed and held there.
Why upper-arm cuffs are the usual recommendation
Most clinical guidance points people toward an upper-arm monitor for routine home measurement, for three practical reasons:
- It matches what happens in the clinic. Your care team measures at the upper arm. Using the same site at home makes your numbers directly comparable to theirs.
- It is more forgiving of small errors. A slight tilt of the forearm changes an upper-arm reading far less than the same tilt changes a wrist reading.
- Validation is more common. Independent testing programmes cover a wider range of upper-arm devices, so it is easier to find a model that has been checked against a reference standard.
None of this means wrist monitors are unreliable devices. It means the wrist is a less forgiving place to measure, so the technique has to be better.
When a wrist monitor is the better choice
There are real situations where a wrist cuff is not a second-best option, it is the sensible one:
- Your upper arm is outside the cuff range. Every cuff has a printed circumference range. If your arm measures beyond the largest cuff available for a device, an upper-arm reading taken with a too-small cuff will be misleadingly high. A properly fitted wrist cuff can be more accurate than a badly fitted arm cuff.
- Squeezing your upper arm is painful or not advised. Arm pain, a healing injury, a fistula, lymphoedema, or a history of surgery affecting one side can all make upper-arm inflation unsuitable. Ask your clinician which arm, or which site, is safe for you.
- You measure alone and struggle with the arm cuff. Threading, positioning and tightening an upper-arm cuff one-handed is genuinely awkward. A wrist cuff wraps in one motion, which can be the difference between measuring daily and giving up.
- You need something that travels. Wrist units are small, self-contained, and easier to pack.
You can browse both styles in our blood pressure meters collection if you want to compare cuff ranges side by side.
Getting a trustworthy reading from a wrist cuff
Almost every complaint about wrist monitors being "wrong" comes down to position. If you use one, this part is not optional:
- Bare wrist. Take off watches and bracelets, and push sleeves right up rather than rolling them into a tight band.
- Place the cuff on the inside of the wrist, just above the wrist crease, following the spacing shown in your device's instructions. Snug, not tight.
- Sit with your back supported and both feet flat on the floor.
- Rest your elbow on a table or on your other forearm, and bring the cuff up so it sits level with the middle of your chest, roughly where your heart is. Many people find it easiest to cup the opposite elbow.
- Let the arm be supported rather than held up by muscle. Holding it up tenses the arm and changes the reading.
- Stay quiet and still until the cuff finishes deflating.
Some wrist monitors include a positioning indicator that only lets the measurement start once the angle is right. If yours has one, use it.
Getting a trustworthy reading from an upper-arm cuff
The arm cuff is more forgiving, but it still has its own set of details:
- Use a bare upper arm. A rolled-up sleeve acts like a second, tighter cuff.
- Position the bottom edge of the cuff about a finger's width above the bend of your elbow, with the tube or marker running down the inside of your arm.
- Tighten so you can slide two fingertips under the edge.
- Rest your forearm on a table with the cuff roughly level with your heart, palm up.
- Sit back, feet flat, legs uncrossed, and stay silent during the measurement.
For the full routine, including timing, rest periods and how many readings to take, see our detailed guide to getting accurate blood pressure readings at home.
Cuff size matters more than which style you buy
This is the single most common avoidable error in home monitoring, and it applies to both types. A cuff that is too small for the limb will overestimate pressure; one that is too large can underestimate it.
Measure the circumference of your bare upper arm at its widest point, midway between shoulder and elbow, with a soft tape measure. Do the same around your wrist if you are buying a wrist device. Then check that measurement against the range printed on the cuff or in the manual before you buy, not after. If you fall near the top of one range and the bottom of the next, the larger cuff is usually the safer pick.
Cuffs also wear out. Fabric stretches, hook-and-loop fastening stops gripping, and tubing cracks. If your cuff no longer holds firm or the device starts throwing inflation errors, replace the cuff rather than assuming the monitor has failed.
How to compare the two at home
If you already own one type and are considering the other, you can compare them directly:
- Sit quietly for five minutes first.
- Take a reading with one device, wait one to two minutes, then take one with the other, then repeat the pair in the reverse order.
- Do this on three or four separate days rather than once.
- Compare the averages, not individual readings. Two readings taken minutes apart are never identical, even on the same device.
A small, consistent gap between devices is normal. A large or erratic gap usually points to technique or cuff fit rather than to a faulty machine. The most useful check of all is to take your own monitor to your next appointment and measure with it right after your clinician measures with theirs.
If the numbers still do not make sense
Readings that jump around from one measurement to the next are extremely common, and they are not automatically a sign that your device is wrong. Time of day, a full bladder, a cold room, a recent coffee or a stressful morning all move the numbers. Our article on why blood pressure readings vary from one check to the next explains what is normal variation and what is worth acting on.
If you are not sure what your numbers mean in the first place, start with understanding your blood pressure numbers.
When to talk to your clinician
Book a conversation if your home readings are consistently above the target you were given, if your two arms give noticeably different results, if you feel dizzy or faint when you stand, or if your device repeatedly fails to complete a measurement. Seek urgent medical help for a high reading accompanied by chest pain, breathlessness, sudden weakness or numbness, changes in vision, confusion or a severe unusual headache.
This article is general information and is not medical advice. Your blood pressure target, how often you should measure, and any change to your medication should be confirmed with your own doctor, nurse or pharmacist, who knows your full history.